

Imager User Guide
This guide applies to FydeOS V23 and above. Imager is a built-in app that ships and updates with the system; there is nothing to install separately.
What is Imager?
Imager writes a system image to a USB drive or SD card to create a bootable installation disk. Writing happens locally on your device — no third-party tool and no command line required.
The whole process takes place on a single page: pick an image, pick a device, click “Flash”. Once writing finishes, Imager reads the data back and compares it chunk by chunk to confirm the result.
Features
- Supports
.img,.binand.iso, as well as.xzand.gzcompressed images - Compressed images are decompressed while writing, so there is no need to extract them first
- Automatic verification after writing
Supported image formats
| Category | File formats |
|---|---|
| Uncompressed images | .img, .bin, .iso |
| Compressed images | .xz, .gz |
Zip archives cannot be written directly. If you have a zip file, extract the image from it first.
How do I flash an image?
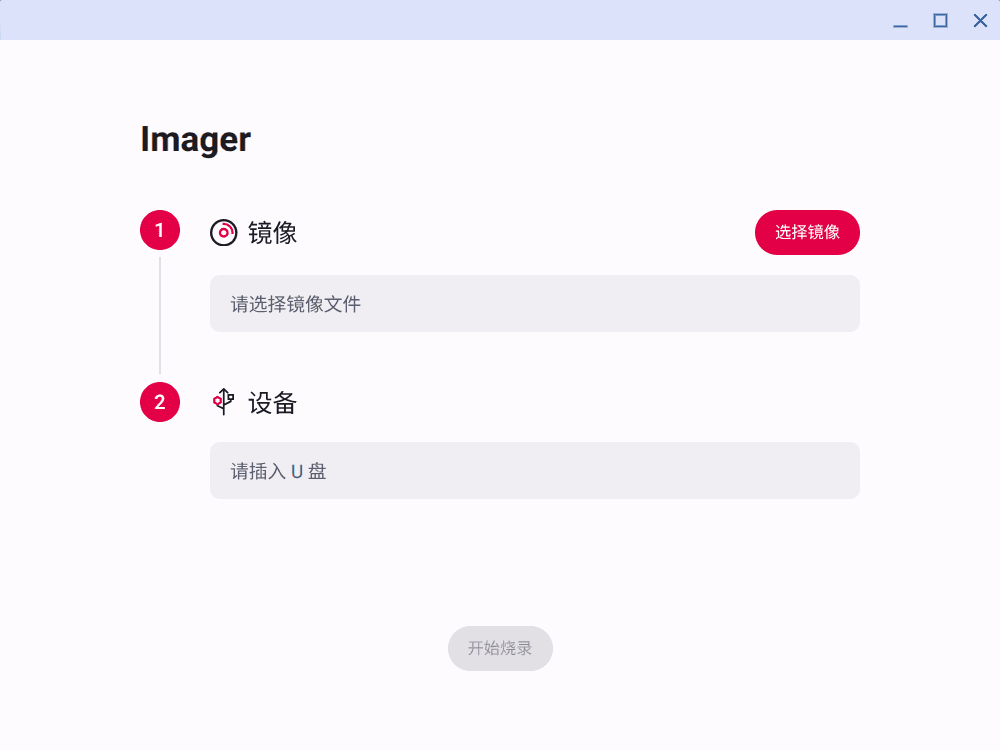
- Insert a USB drive or SD card
- Open Imager and choose the image file under “① Image”
- Choose the target device under “② Device”
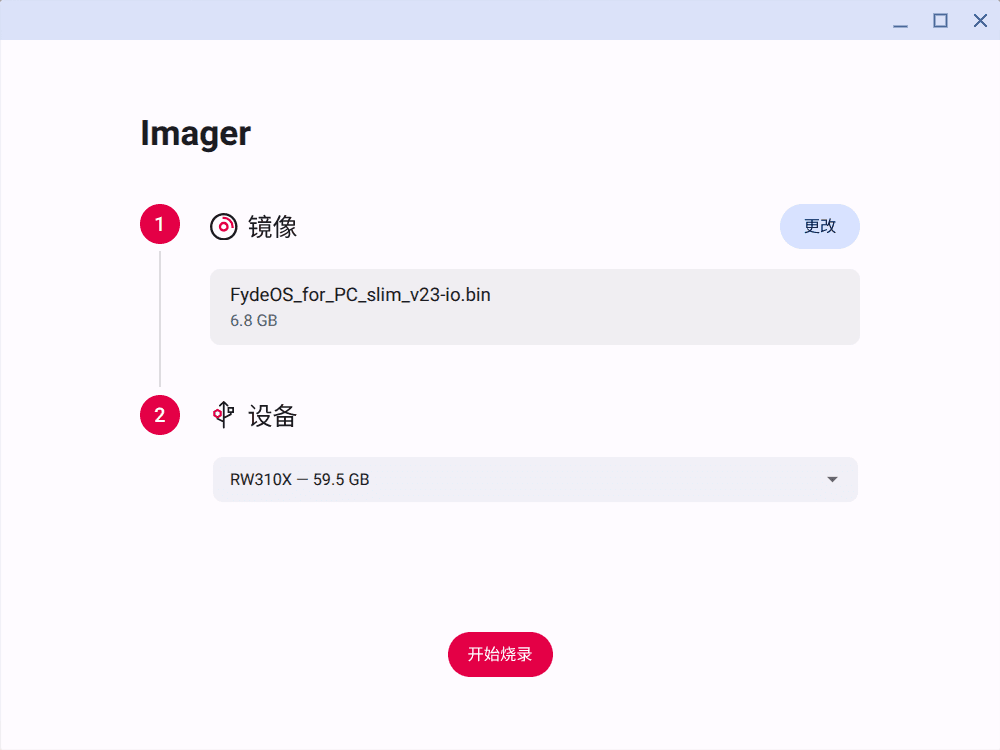
- Click “Flash” at the bottom
Imager asks for confirmation first, for example:
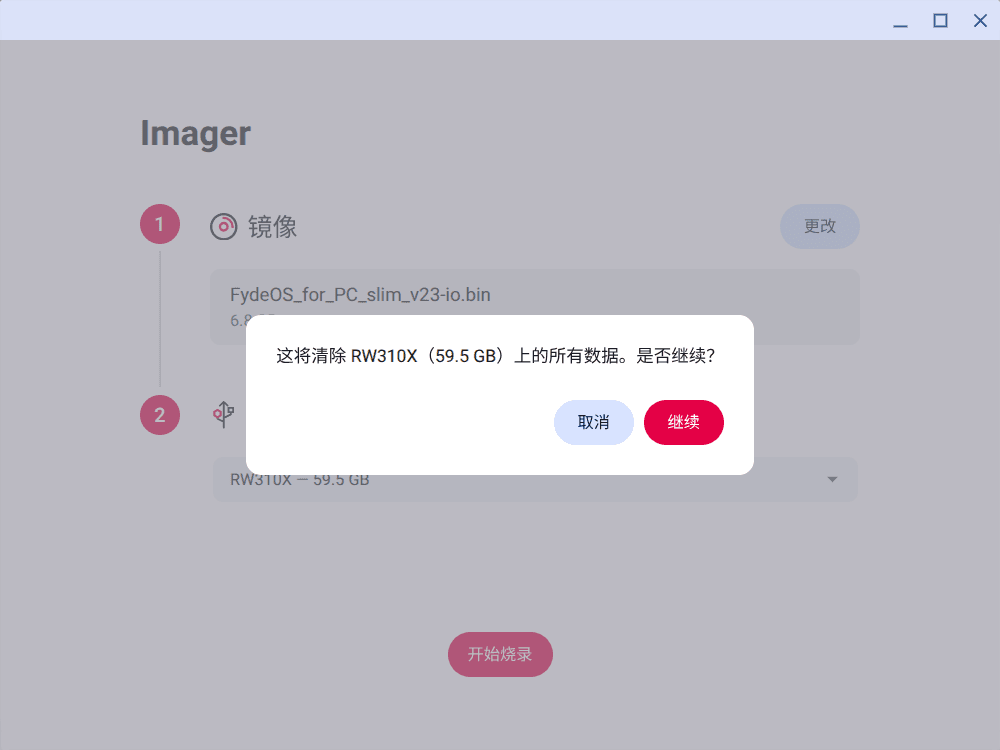
This will erase all data on RW310X (59.5 GB). Continue?
If you have several storage devices plugged in, check the device name and capacity carefully. Writing only starts once you click “Continue”.
While flashing
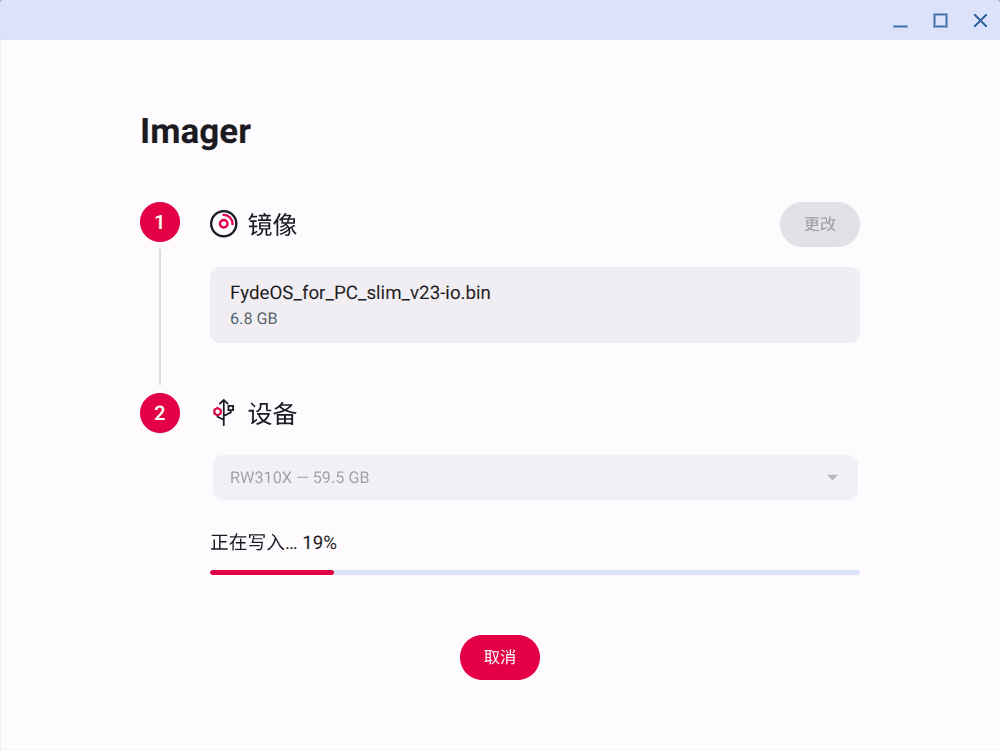
The status bar shows “Writing…” and then “Verifying…”. Verification reads back what was written and compares it against the image. When it finishes, “Image flashed successfully!” is shown.
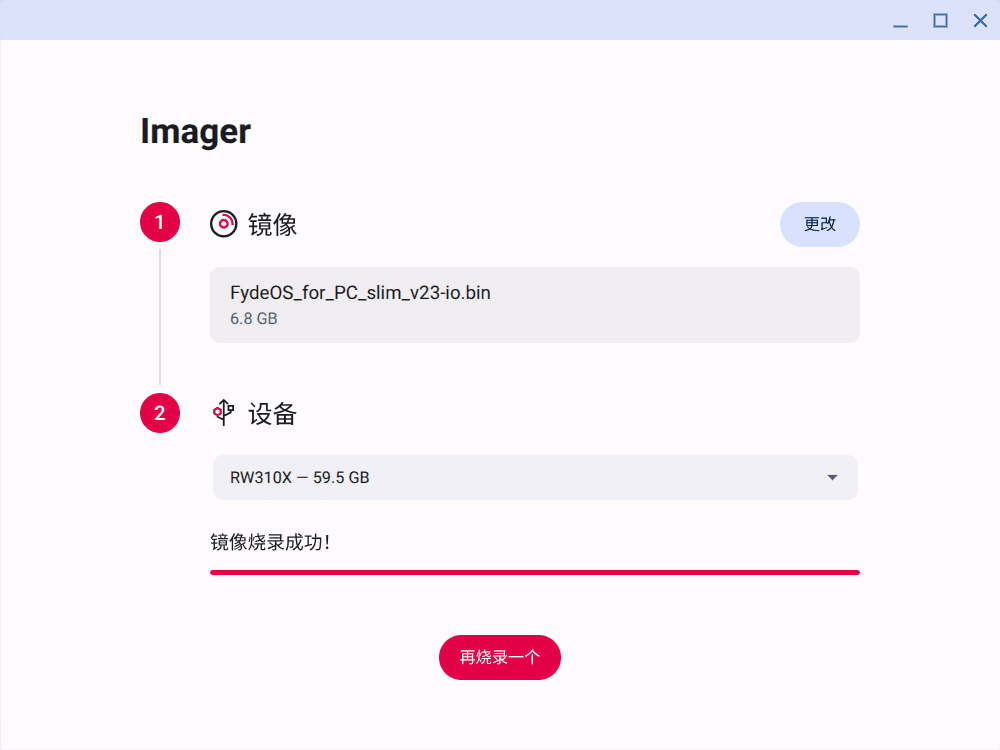
While writing, please note:
- Do not unplug the device. Doing so interrupts writing, the app reports “The drive was removed.”, and the device has to be flashed again.
- Do not close the window. Clicking the close button asks for confirmation first.
How do I cancel flashing?
While writing, the button at the bottom reads “Cancel”. Clicking it attempts to stop writing and shows, in order:
Stopping… Writing will stop shortly. Do not remove the drive.
Do not unplug the device until you see this message:
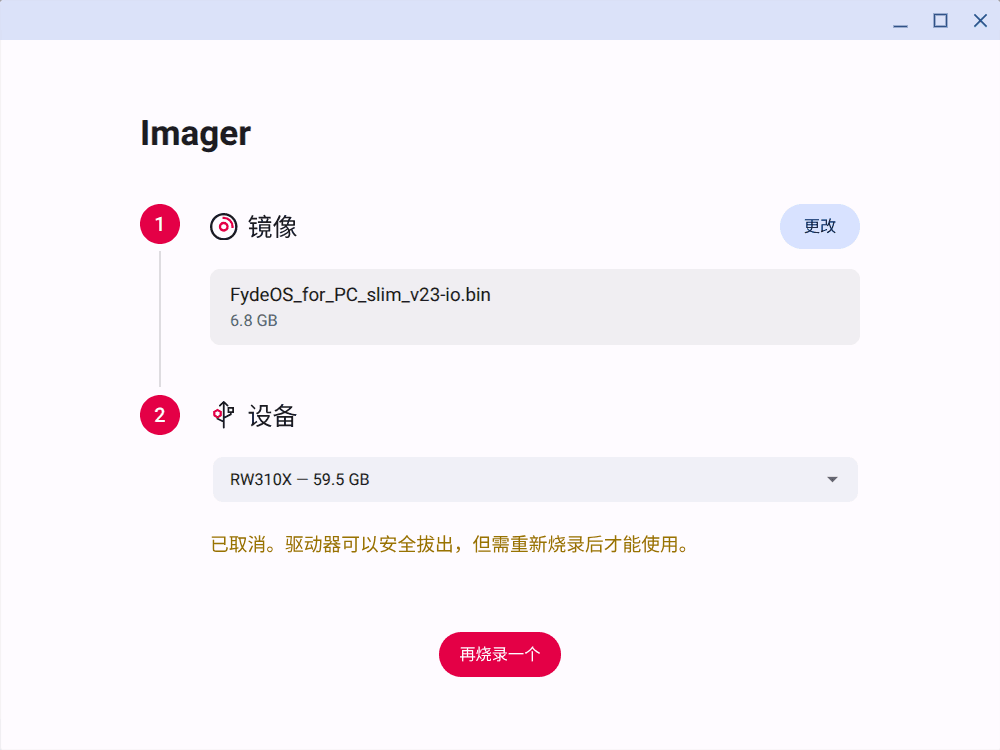
Cancelled. The drive can be removed safely, but must be flashed again before it can be used.
A cancelled device holds partially written data and cannot be used as is. Flash it again, or format it to use it as ordinary storage.
The image is larger than the target device
Once both are selected, if the image is larger than the capacity of the chosen device, a message appears above the button:
This image (8.0 GB) is larger than the selected drive (7.5 GB). Please use a larger drive.
“Flash” stays disabled — use a device with more capacity.
Which storage devices appear in the list?
The list only shows storage devices attached to a USB port or SD card slot that are not the current boot disk.
- The disk the system is running from never appears, no matter which channel it is attached to
- Built-in NVMe and eMMC drives are not on the USB/SD channel and do not appear either
- USB external drives and drive enclosures do appear
The decision is based on the interface channel rather than the removable flag, because some enclosures report themselves as non-removable. If you have several USB drives plugged in, check the name and capacity in the confirmation dialog.
The device list updates in real time — a newly inserted device shows up without restarting the app.
Troubleshooting
Why does a 32 GB device show as 29.8 GB?
Manufacturers label capacity using 1 GB = 1000 MB, while the system calculates in units of 1024. The two methods produce different numbers. This is normal.
My USB drive is not in the list
First check in the Files app whether the system recognises the device at all. If it does not, try a different USB port or cable; if you are using a card reader, make sure the card is fully inserted. Built-in drives not appearing in the list is expected — see the section above.
”The drive could not be unmounted. Close any apps using it and try again.”
Any mounted partitions on the device have to be unmounted before flashing. Close the device’s folders in the Files app and any other program reading from or writing to it, then try again.
”The image file could not be read.”
The image file may have been moved or deleted after you selected it, the download may be incomplete, or the compressed image itself may be corrupted.
”Flashing failed.”
Try a different USB port first. If the same device keeps failing, the device itself is usually at fault — try another one.
I cannot see the contents of the device in the Files app after flashing
This is normal. The partition formats inside a system image usually cannot be mounted by FydeOS, so not seeing any content does not mean flashing failed.
Can I still use a flashed device as an ordinary USB drive?
Yes. Format it and it works normally again; formatting erases the system image that was written to it.
How do I report a problem?
When reporting a problem, please include: your device model, your FydeOS version, the brand and capacity of the USB drive or SD card, the file name and format of the image, the stage at which the problem occurred (choosing the image / writing / verifying), and the full text of the message shown on screen. If writing was interrupted, please say what percentage it had reached and whether anything was plugged in or unplugged at the time.