Install FydeOS on VMware
This guide will walk you through the process of installing FydeOS as a virtual machine on VMware, tailored for different operating systems. Choose your host OS below to get started:
-
Download the FydeOS for VMWare image: First, you’ll need the FydeOS for VMWare image file. You can download it from our download page.
-
Install VMware Workstation Player: If you haven’t already, download and install VMware Workstation Player. You can get the latest version from the VMware official download page. Follow their installation instructions to get it set up.
-
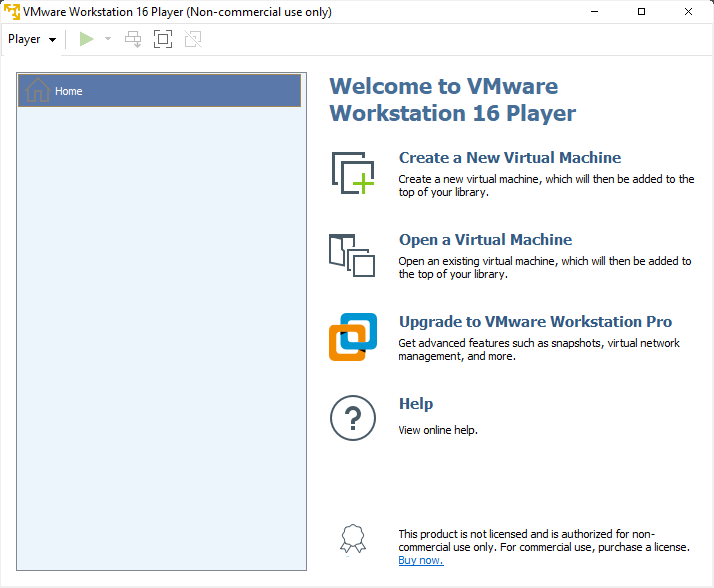
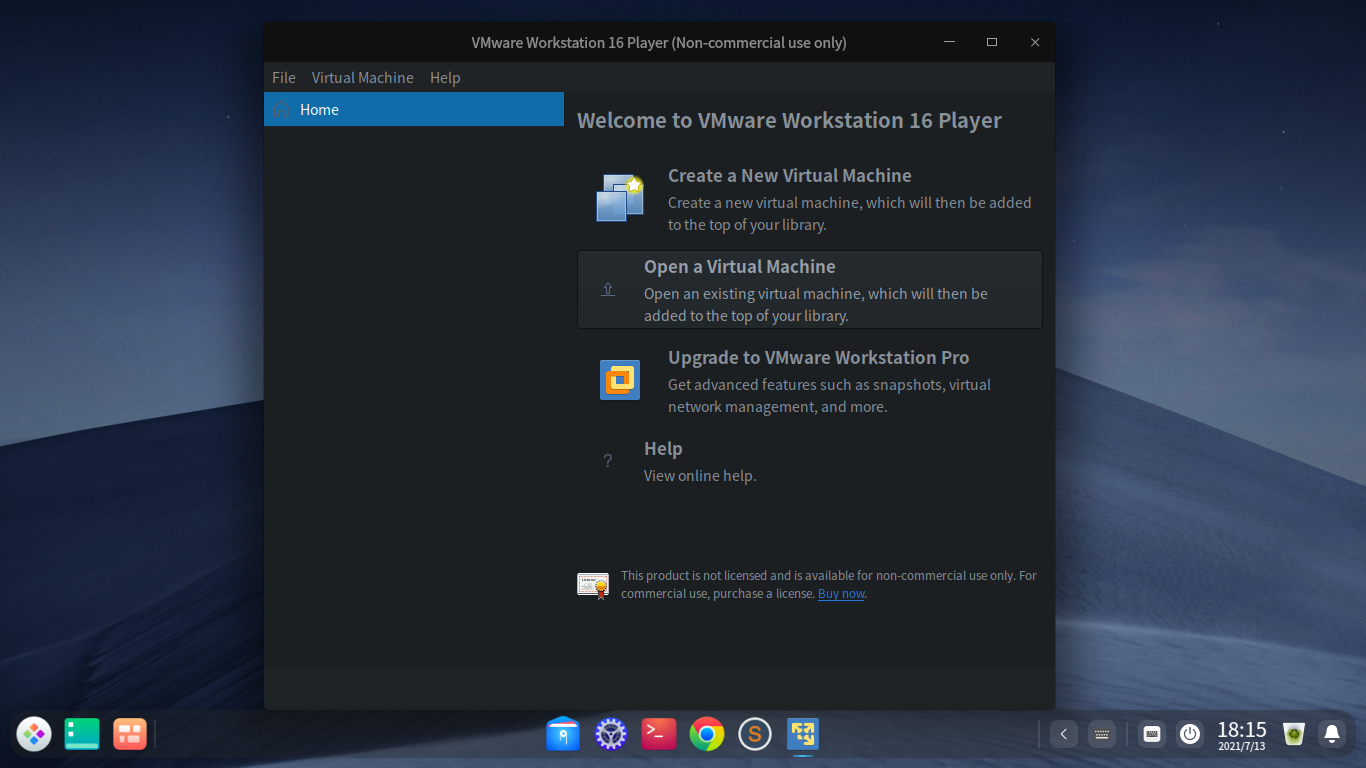
Open a Virtual Machine: Launch VMware Workstation Player and click on “Open a Virtual Machine”.
-
Select the FydeOS for VMWare image: Browse to the location where you downloaded the FydeOS for VMWare image file and select the
.ovafile.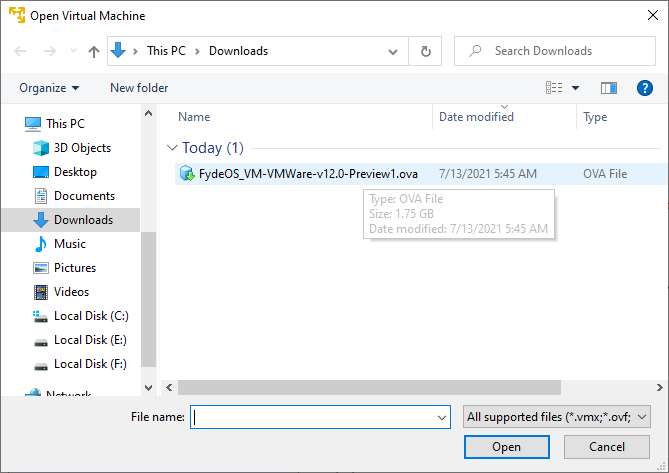
-
Choose VM location: VMware will prompt you to choose a name and location for the new virtual machine. Select your desired options and proceed.

-
Address potential import errors: You might encounter an “Import failed, the file has not passed OVF specification check” error. Don’t worry, this is a known issue. Simply click “Retry”, and the import should continue without problems.
-
Start FydeOS VM: Once the import is complete, FydeOS VM will be listed in your virtual machine library. Click “Play Virtual Machine” to power it on and start using FydeOS!

-
Download the FydeOS for VMWare image: Get the FydeOS for VMWare image file from our download page.
-
Install VMware Fusion: If you haven’t installed VMware Fusion yet, download it from the VMware official download page. Follow the installation guide to set it up on your macOS.
-
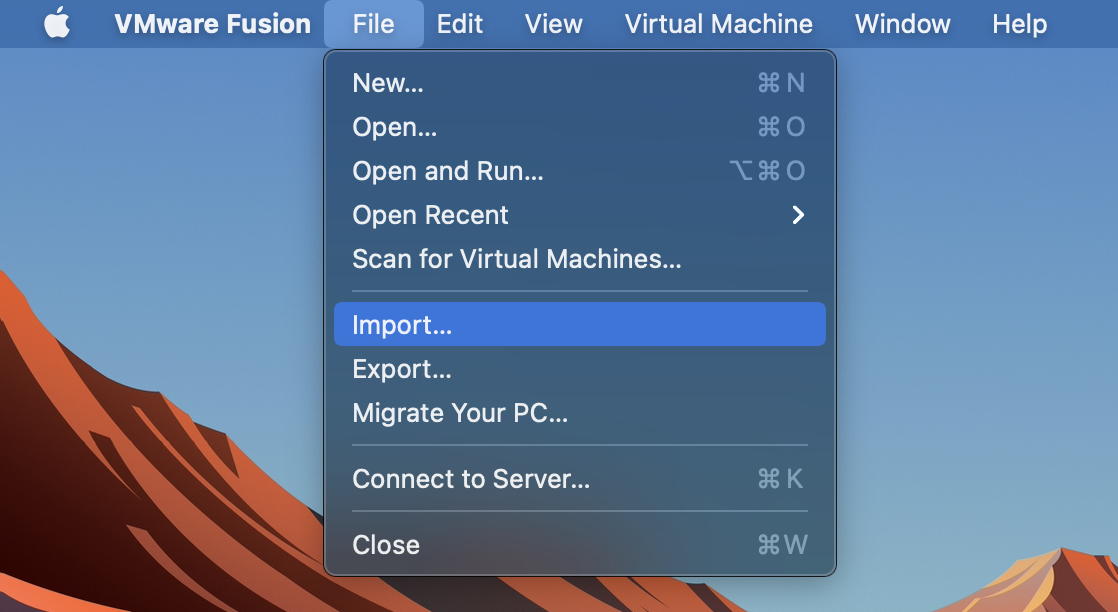
Import the Virtual Machine: Launch VMware Fusion, go to the “File” menu, and select “Import”.
-
Select the FydeOS for VMWare image: Choose the downloaded FydeOS VM
.ovafile and click “Continue”.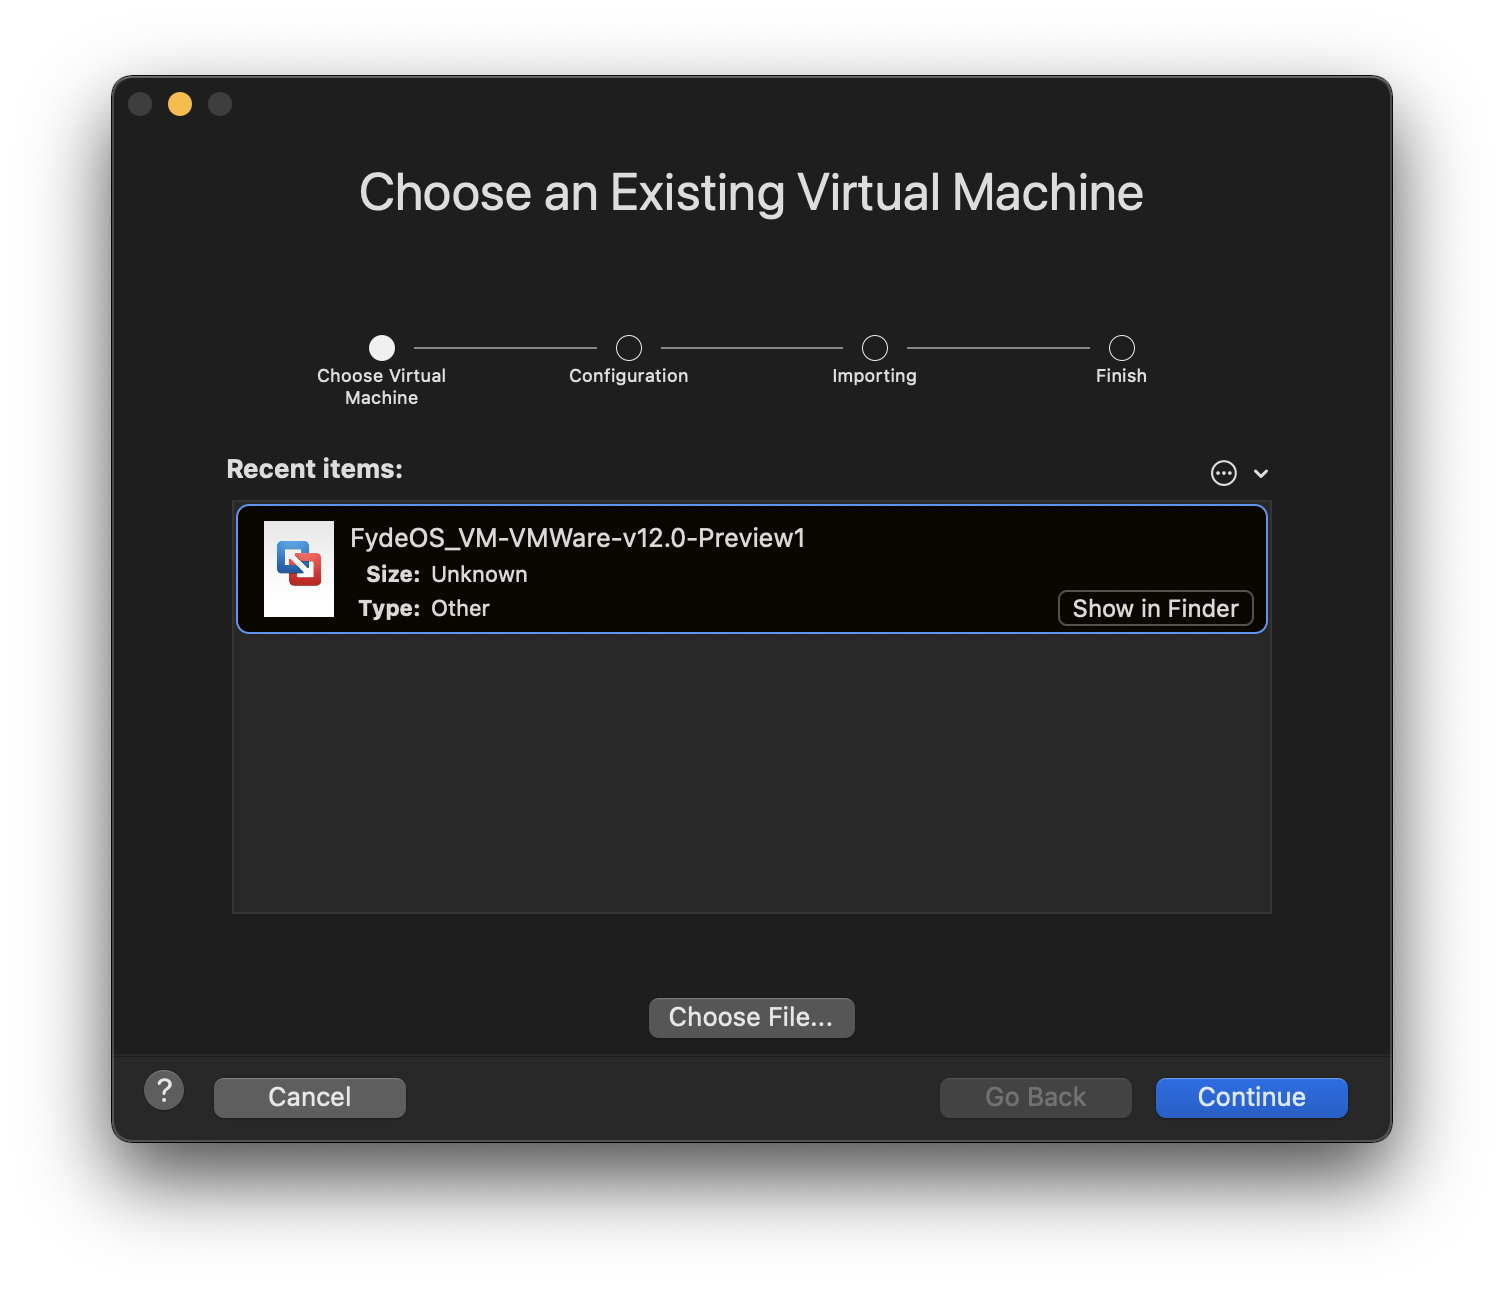
-
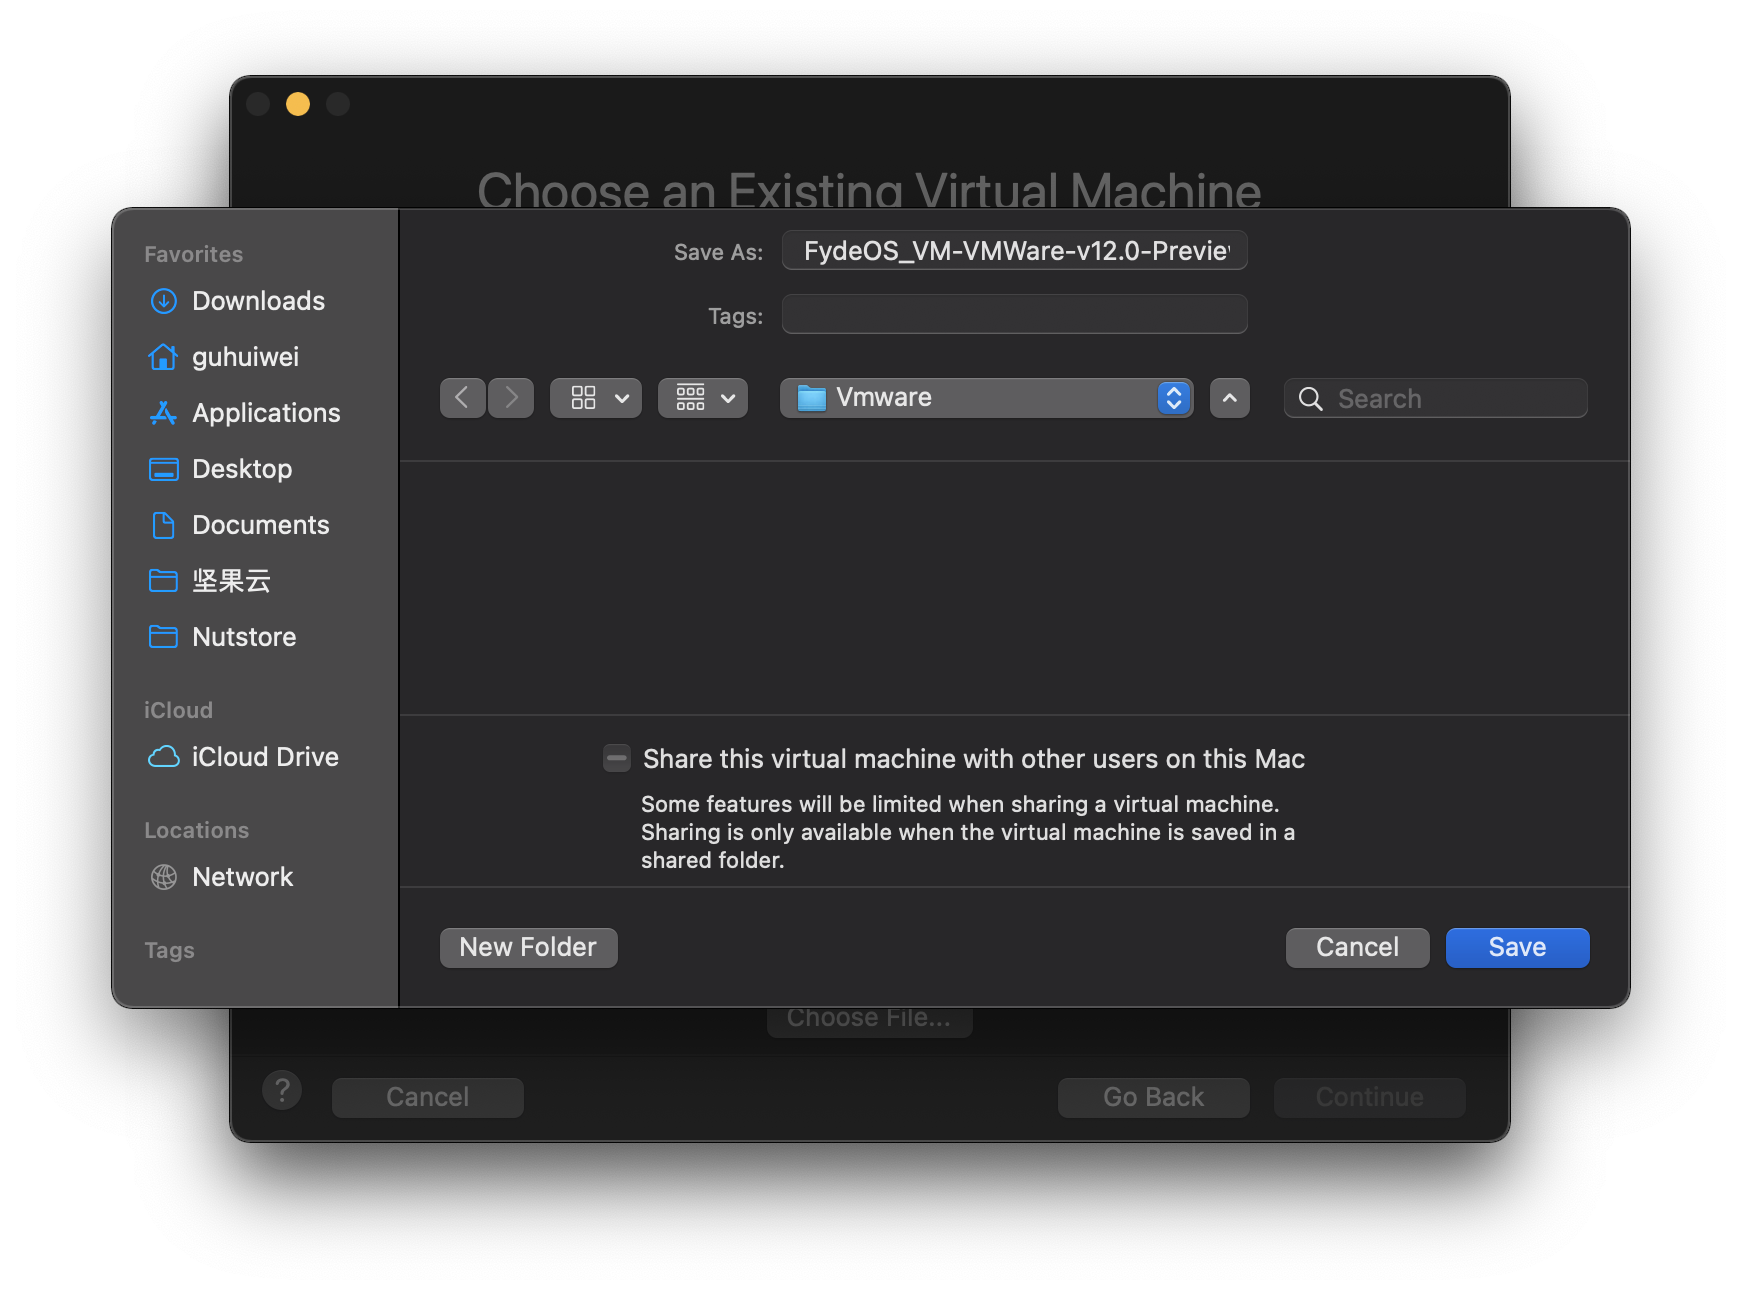
Choose VM location: Follow the prompts to select a name and location for your new virtual machine.
-
Handle potential import errors: If you see the “Import failed, the file has not passed OVF specification check” message, simply click “Retry”. This is a known issue and retrying will usually resolve it.
-
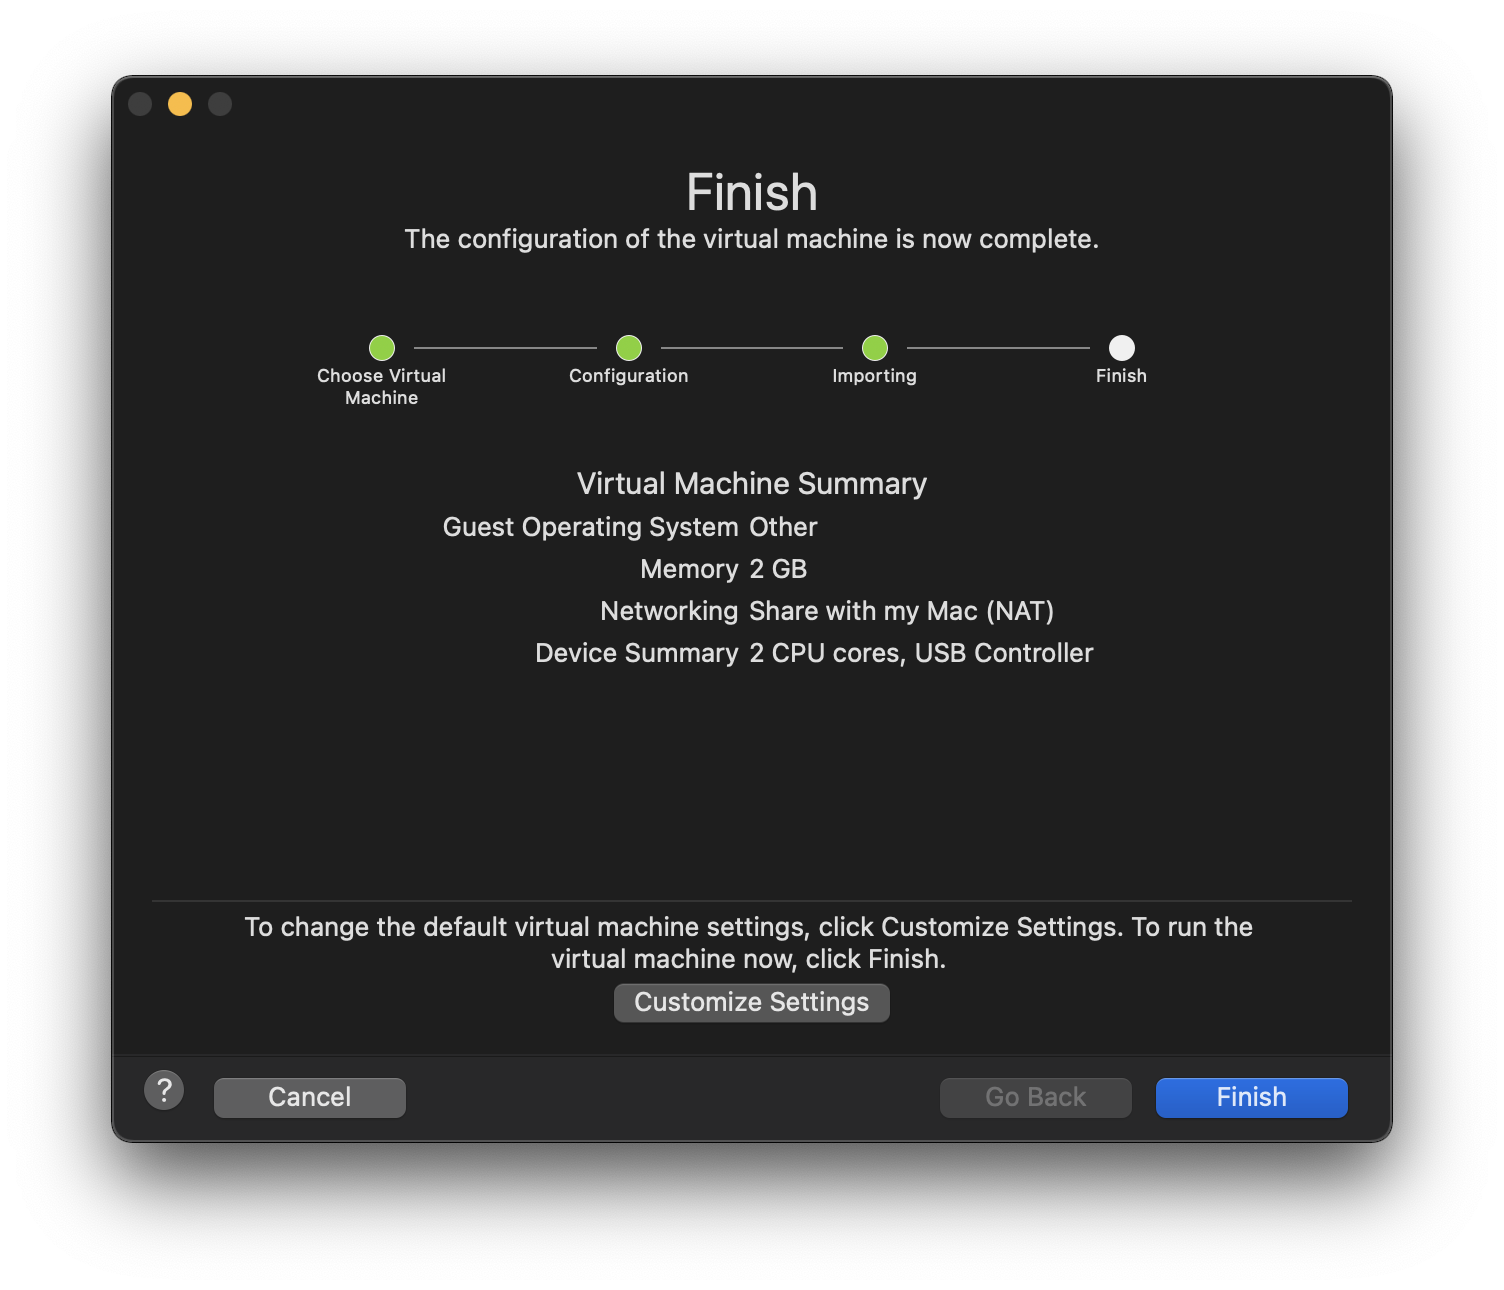
Start FydeOS for VMware: Once the import is done, click “Finish” to complete the setup and start FydeOS!
-
Download the FydeOS for VMWare image: Download the FydeOS for VMWare image file from our download page.
-
Install VMware Workstation Player Bundle: If you haven’t already, download the VMware Workstation Player Bundle installation script from the VMware official download page. Open your terminal and run the following commands to install it:
Terminal window chmod a+x /path/to/your/VMware-Player-xx.x.x-xxxxxx.x86_64.bundlesudo ./path/to/your/VMware-Player-xx.x.x-xxxxxx.x86_64.bundle -
Open a Virtual Machine: Launch VMware Workstation Player and click “Open a Virtual Machine”.
-
Select the FydeOS for VMWare image: Select the downloaded FydeOS VM
.ovafile. Follow the prompts to choose the file name and location for the new virtual machine, and then click “Import” to confirm.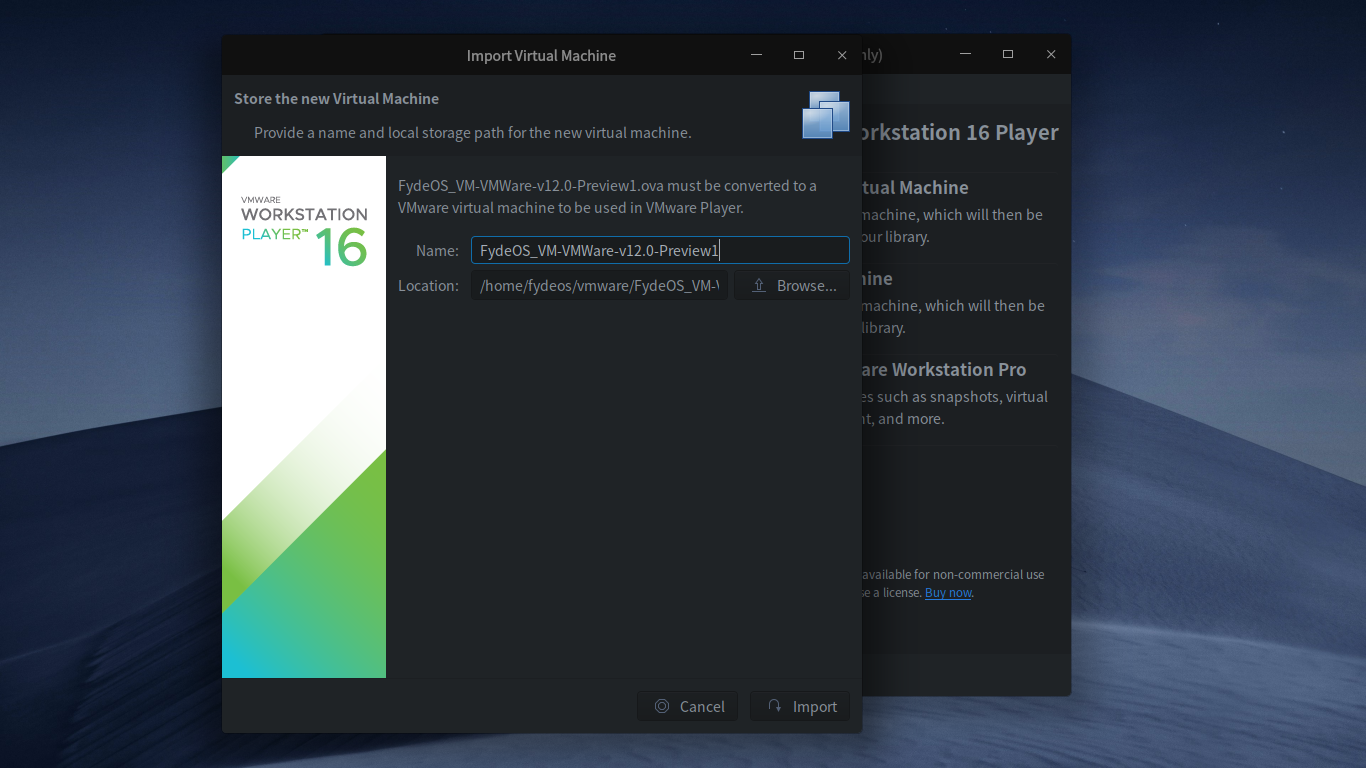
-
Address potential import errors: If you encounter the “Import failed because the file did not pass the OVF specification check” error, click “Retry”. This is a known issue, and retrying should resolve it.
-
Start FydeOS for VMware: After the import is complete, click “Finished” to start using FydeOS!
Prerequisites:
- Ensure FydeOS for VMware is already imported, configured, and running correctly on your local device (any OS).
- Make sure you have a VMware ESXi v6.7 server instance installed and configured.
- Verify that your local device and the ESXi v6.7 server are on the same subnet or that your local device can access the ESXi server.
-
Turn off FydeOS VM: Ensure your FydeOS for VMware virtual machine is powered off.
-
Connect to the ESXi Server: In your VMware Fusion (or vSphere Client) menu bar, select File - Connect to Server.
-
Enter ESXi Connection Details: Enter your ESXi server’s connection information and click “Connect”.
-
Upload FydeOS to Server: In your Virtual Machine Library, right-click on your FydeOS for VMware virtual machine and select “Upload to Server”.
-
Choose Target ESXi Server: Select the corresponding ESXi server as the target for the upload and click “Continue” to begin the upload process.
-
Start FydeOS on ESXi: Once the upload is complete, FydeOS for VMware will be visible in your ESXi control panel. Click on “Start” to launch FydeOS for VMware on your ESXi server.
Fixing Potential 3D Support Issues
In some cases, you might encounter a “No 3D support is available from the host” error when running FydeOS in VMware. To resolve this:
-
Locate the .vmx file: Navigate to the folder where your FydeOS virtual machine files are stored. Find the configuration file with the
.vmxextension. -
Edit the .vmx file: Open the
.vmxfile with a text editor. -
Add the configuration line: At the end of the file, add the following line:
mks.gl.allowBlacklistedDrivers = "TRUE"
-
Save the file: Save the changes to the
.vmxfile. -
Restart the VM: Restart your FydeOS virtual machine. This should enable 3D support and resolve the error.