Expand VMware Storage for FydeOS
Last Updated: 2024-03-13
Prerequisites: This guide requires shell access to your FydeOS installation, assuming developer mode is already enabled. If modifications to system files are necessary, you will also need to disable root file system verification.
This tutorial provides a detailed, step-by-step walkthrough for users looking to expand the storage capacity of FydeOS running on VMware. For those who prefer a visual demonstration, we also offer a tutorial video.
Increasing Virtual Disk Capacity in VMware Settings
This initial step involves adjusting your VMware virtual machine settings to allocate additional storage space to your FydeOS virtual disk. The procedure varies slightly depending on whether you are using Windows or macOS as your host operating system. Please select your operating system below for specific instructions:
For Windows Hosts
-
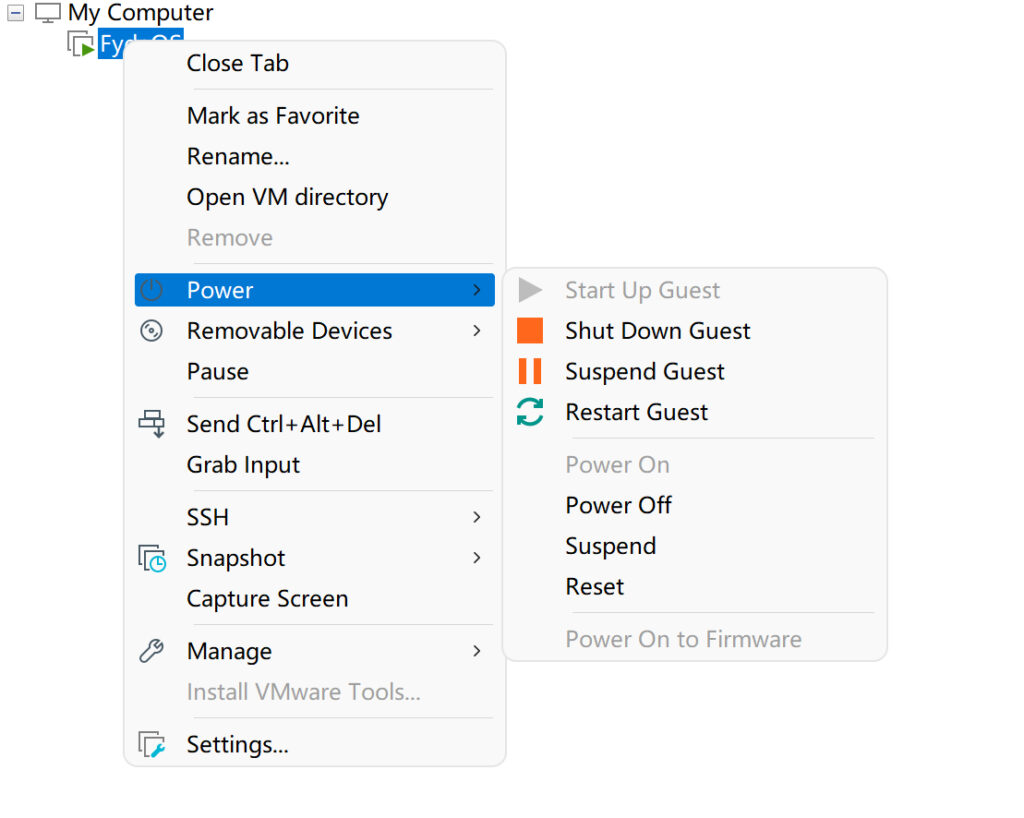
Power Off FydeOS: In VMware, right-click on your FydeOS virtual machine in the library and select “Power” > “Shut Down.”
-
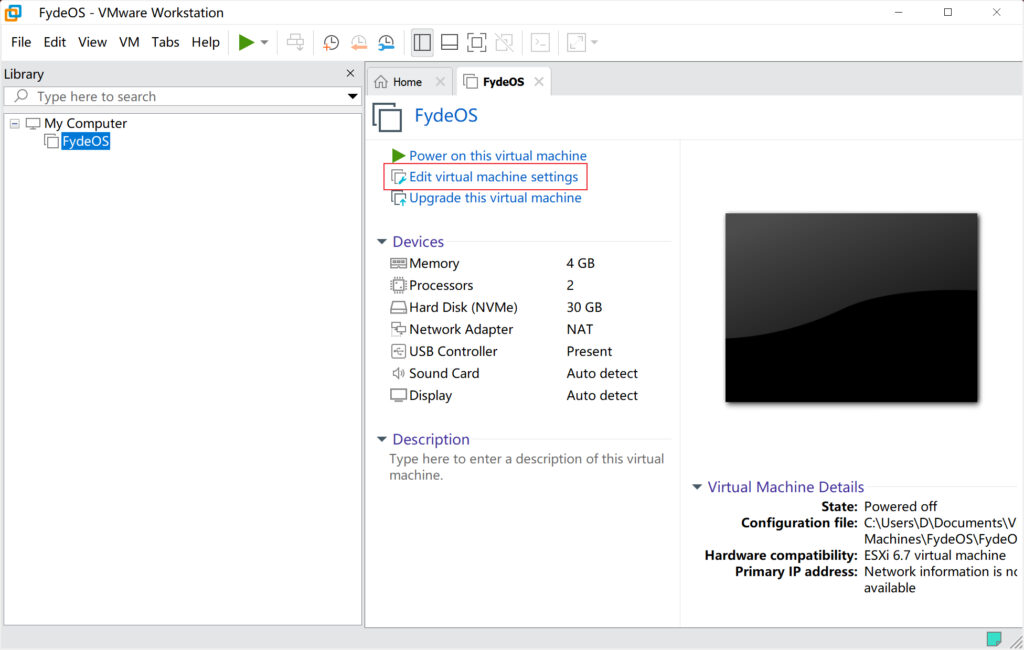
Access Virtual Machine Settings: Right-click on the FydeOS virtual machine again and select “Edit virtual machine settings.”
-
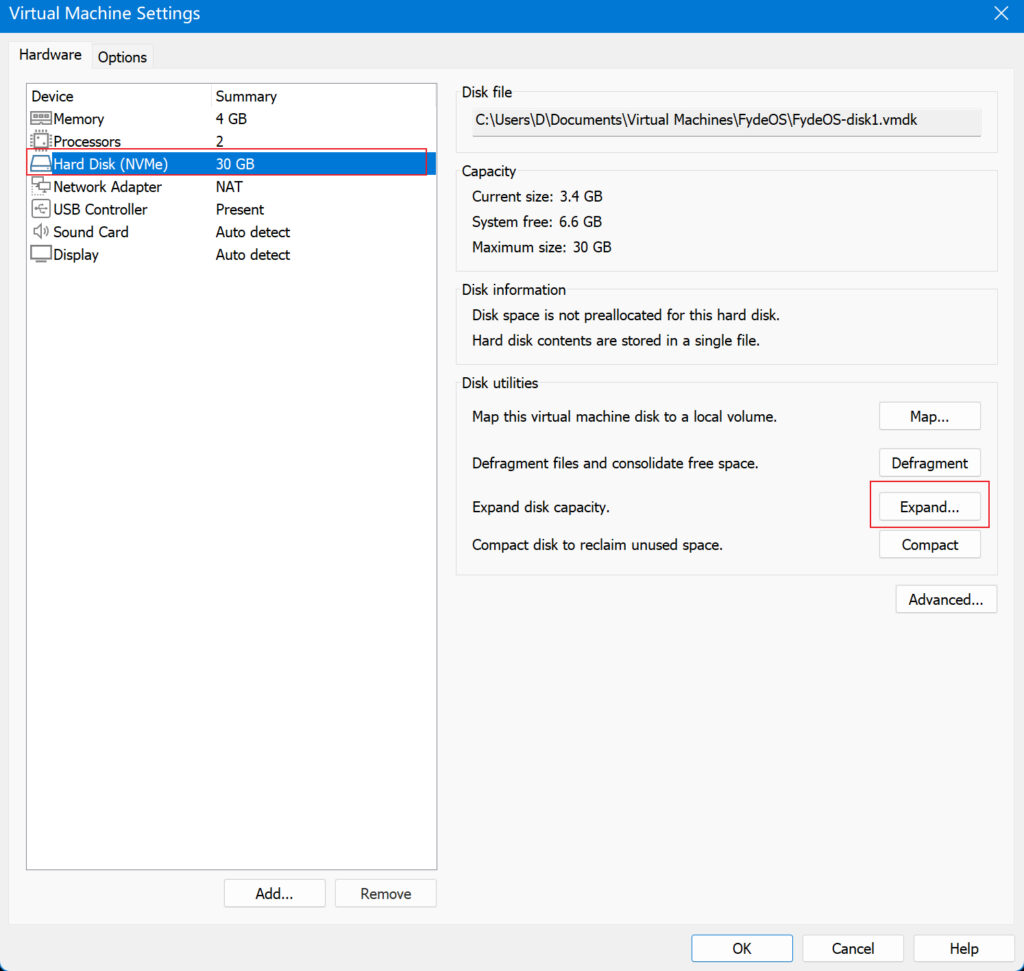
Navigate to Hard Disk Expansion: In the Virtual Machine Settings window, select “Hard Disk” and then click the “Expand” button or option.
-
Specify New Disk Capacity: Enter your desired new storage capacity for the virtual disk in the provided field.
-
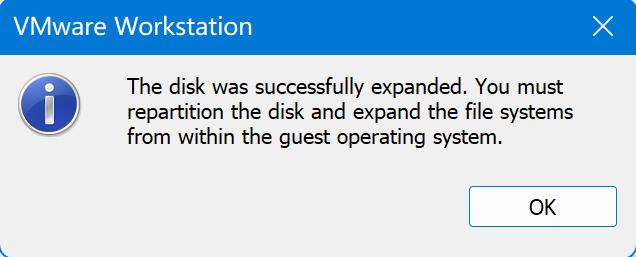
Apply Changes: Click ‘Apply’ or ‘OK’ to confirm and finalize the virtual disk expansion.
For macOS Hosts
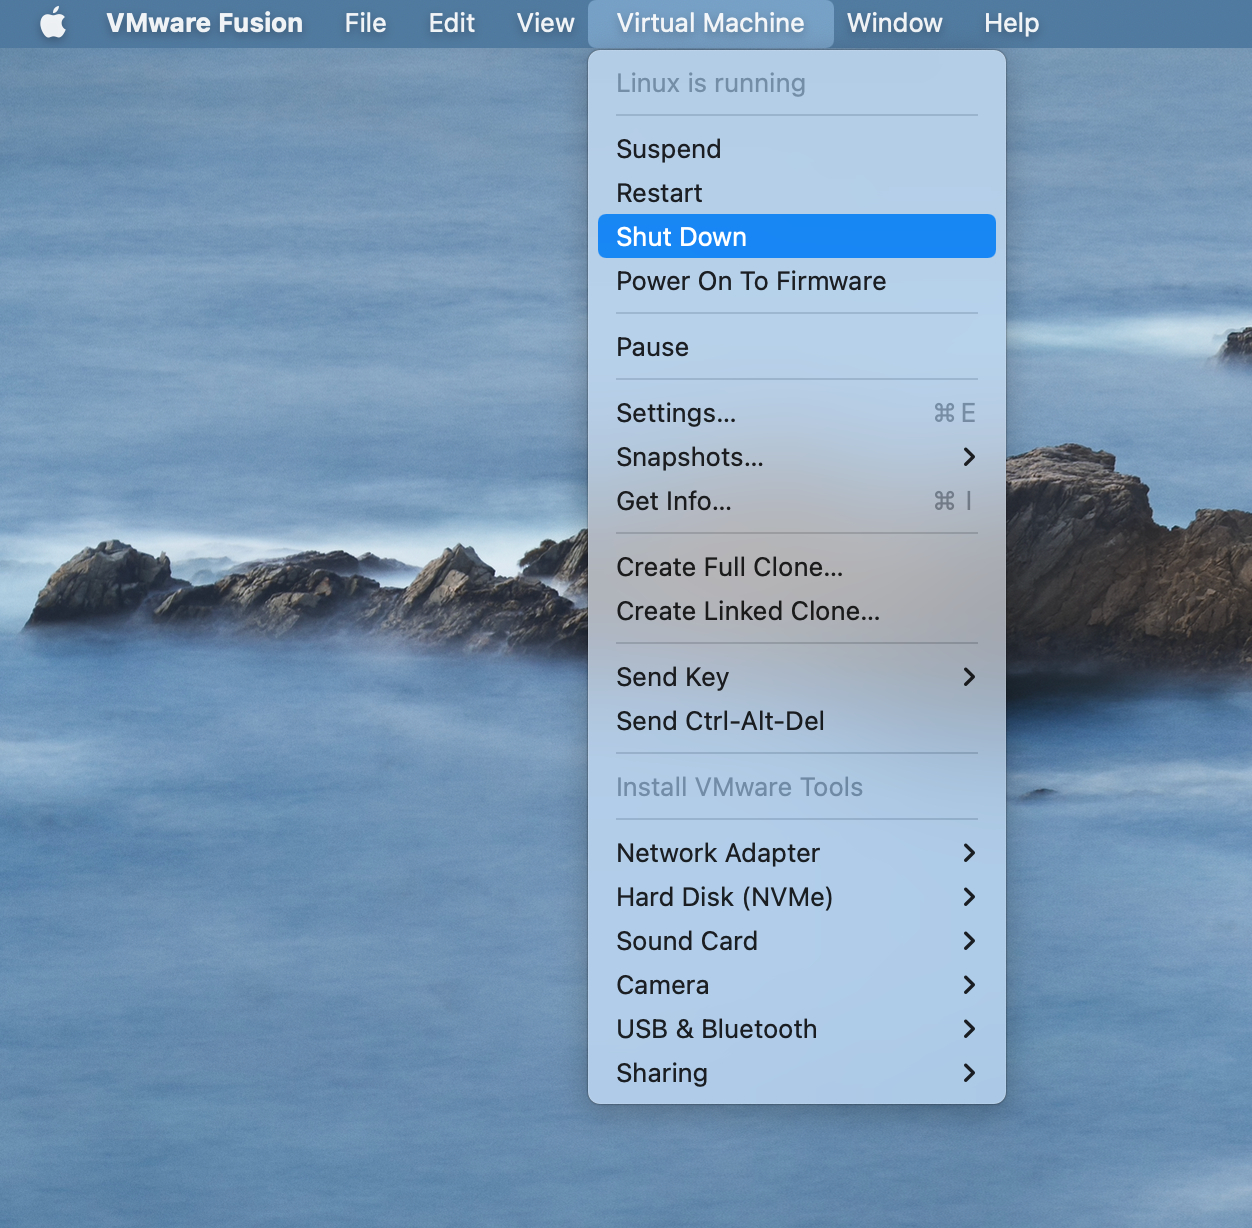
- Shut Down FydeOS: In VMware Fusion, click on the “Virtual Machine” menu at the top, and select “Shut Down.”
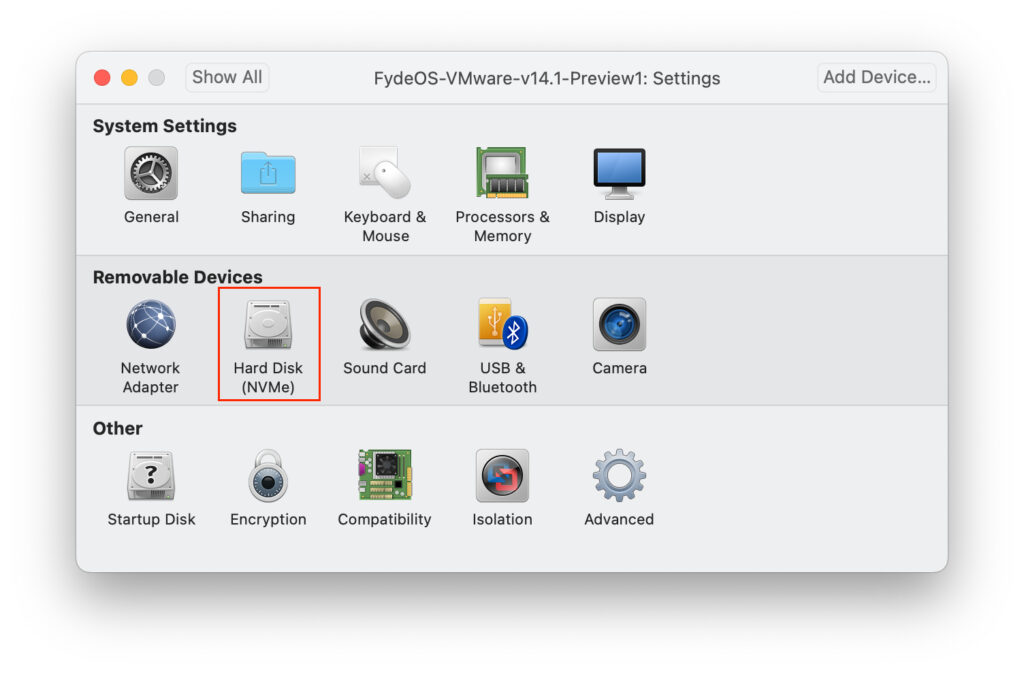
- Open Hard Disk Settings: Go to “Settings” for your FydeOS virtual machine, then select “Hard Disk.”
- Define New Capacity: Enter the desired larger capacity for your FydeOS virtual disk.
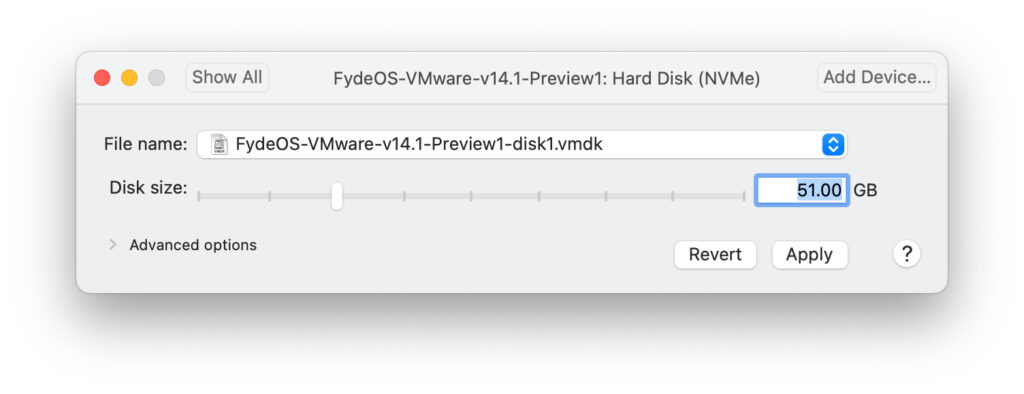
- Confirm Expansion: Click ‘Apply’ or ‘Save’ to apply the changes and expand the virtual disk.

-
Opening the Terminal in FydeOS
To expand the partition within FydeOS to utilize the newly allocated space, you will need to access the command-line terminal. The method for opening
croshdiffers slightly based on your host operating system.For Windows Hosts
Once FydeOS has successfully booted up, press
Ctrl+Alt+Tsimultaneously. This will open a newcroshtab directly within the Chromium browser in FydeOS.For macOS Hosts
Before launching FydeOS, access the virtual machine settings. Navigate to the
Keyboard & Mouseconfiguration and ensure it is set to theMac profile. After FydeOS starts, pressCtrl+Option+Tto open thecroshterminal.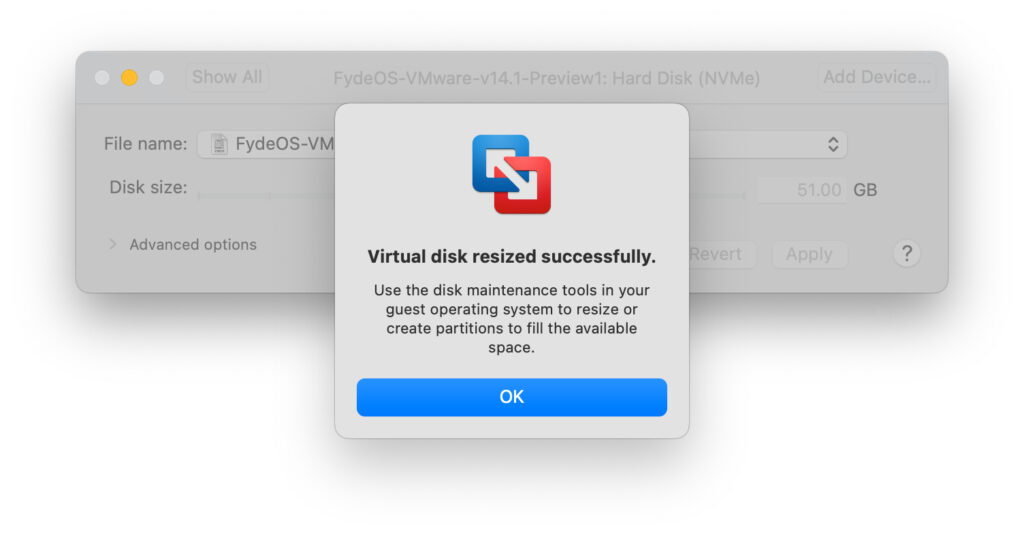
Accessing the Shell Environment
Within the
croshtab, type the commandshelland press theEnterkey. This will transition you from thecroshenvironment to a full Linux shell.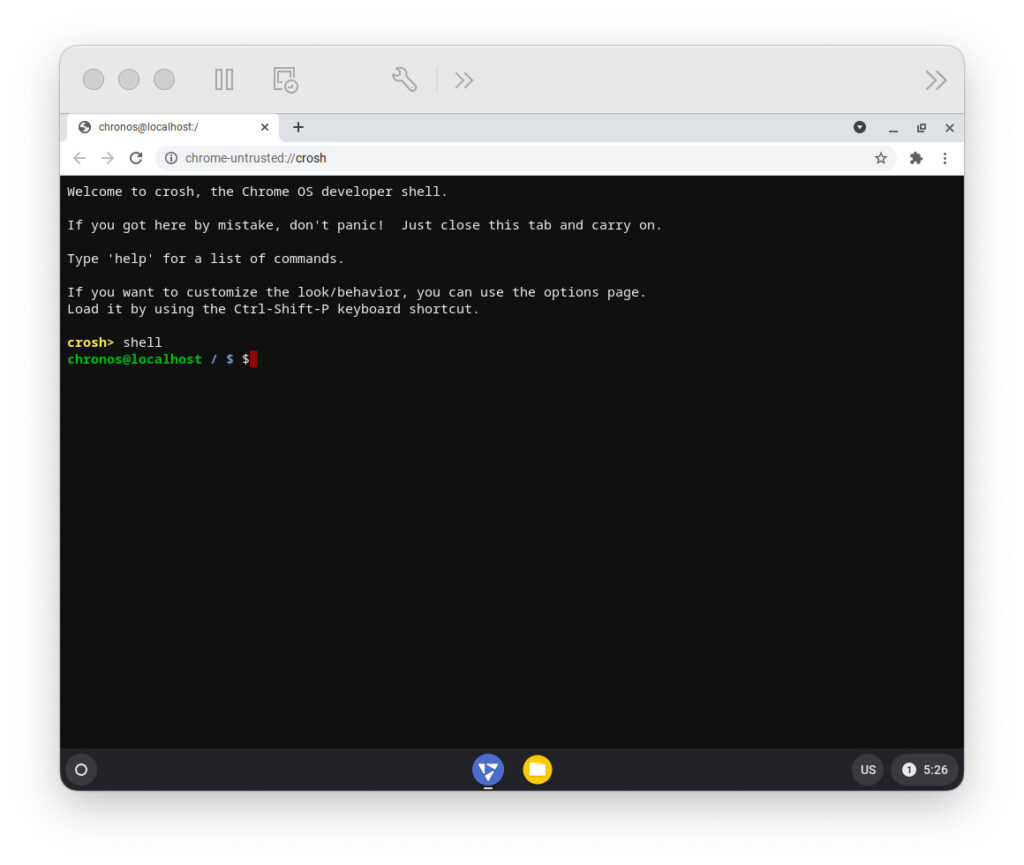
Identifying the Target Partition for Expansion
In the shell, type
lsblkand pressEnterto display a list of all available block storage devices. This command provides information about your disks and partitions.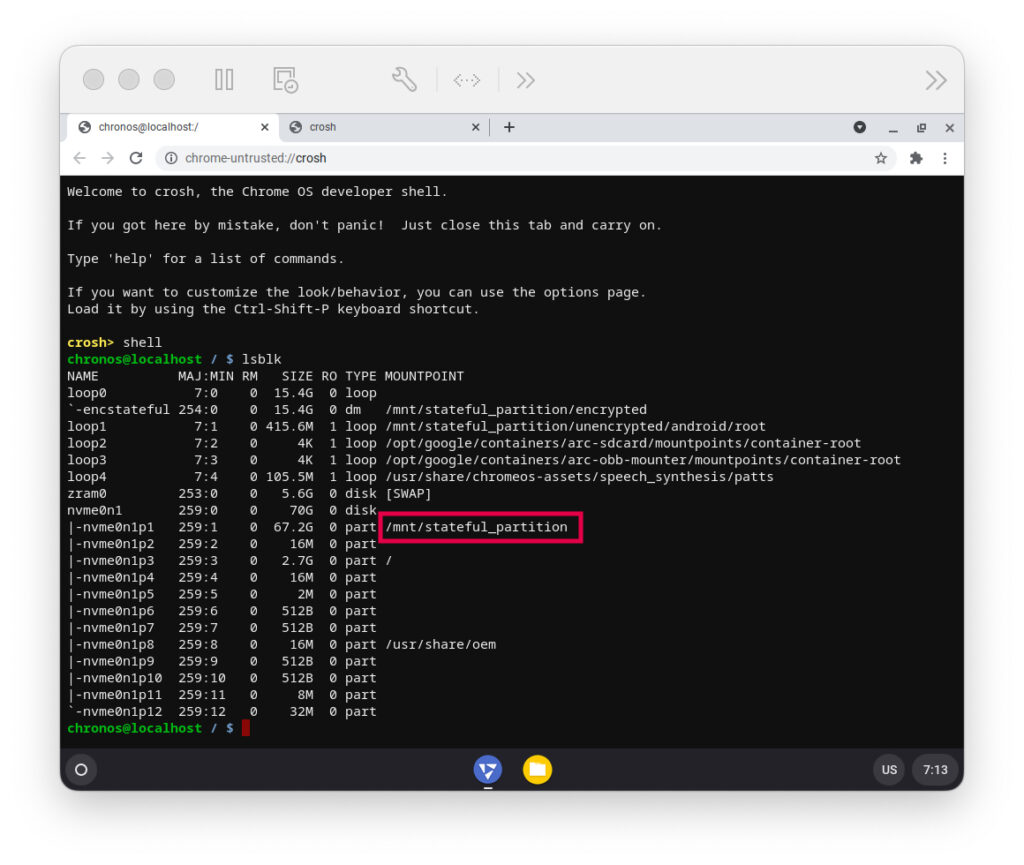
nvme0n1p1. This is the partition we need to expand to utilize the newly available disk space.Executing the Partition Expansion Script
With the target partition (
nvme0n1p1) identified, execute FydeOS’s built-in partition expansion script. This script is designed to automatically expand thestatefulpartition to fill the entire available disk space.Enter the following command in the shell and press
Enter:Terminal window sudo expand-partition.sh --dst /dev/nvme0n1p1In some cases, you might encounter an error message stating:
The system is not running from removable disk.If this occurs, you can force the script to run by appending the-fflag:Terminal window sudo expand-partition.sh --dst /dev/nvme0n1p1 -f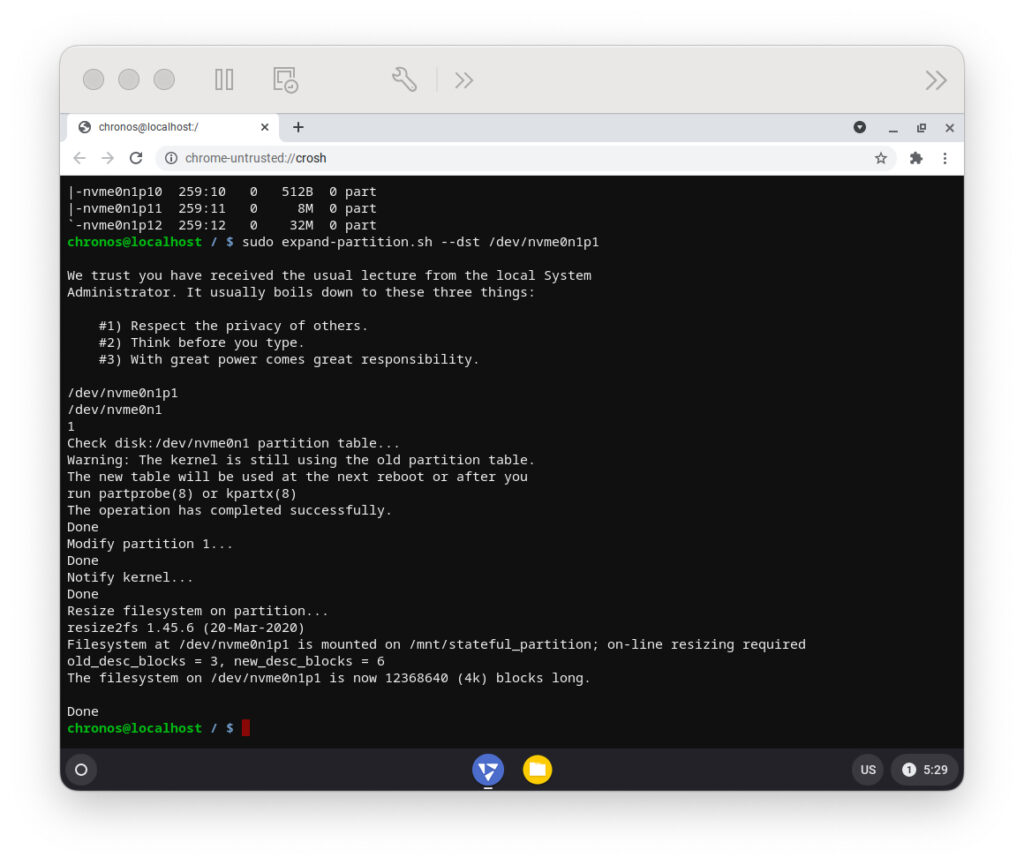
Verifying Successful Storage Expansion
After the script completes, navigate through the FydeOS settings to verify the expanded storage capacity. Go to “Settings” > “Device” > “Storage Management”.
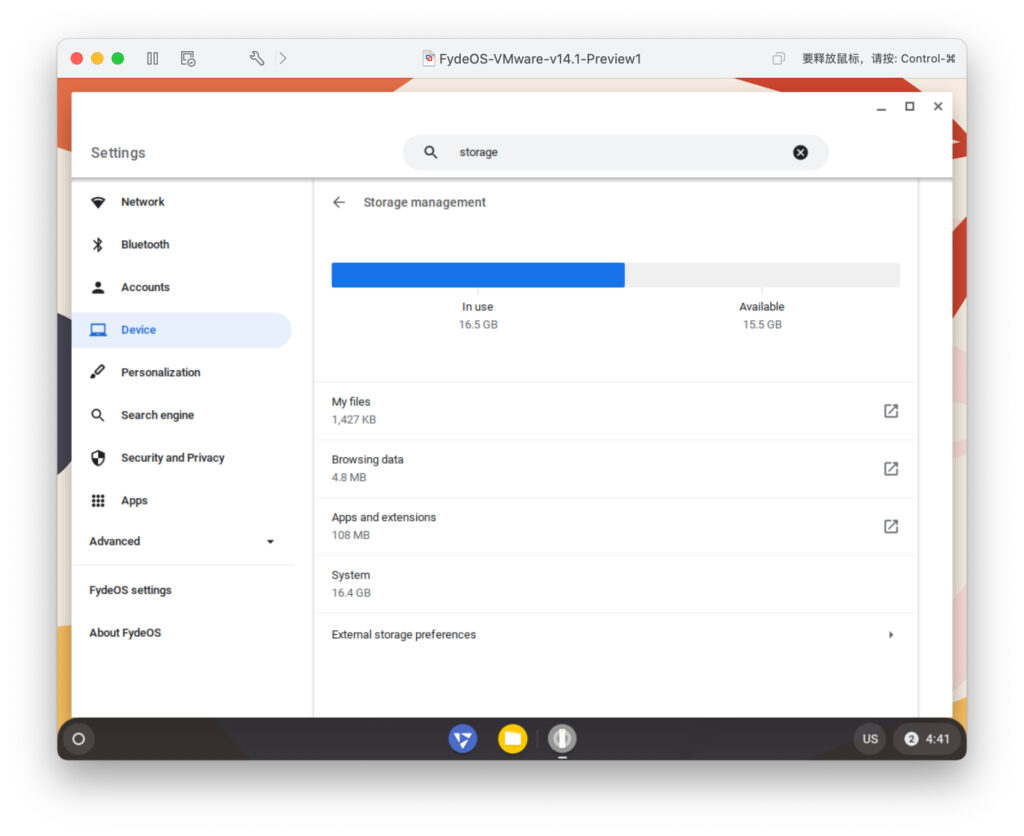
If the displayed capacity now reflects the increased size you configured in VMware, congratulations! You have successfully expanded the storage capacity of your FydeOS virtual machine on VMware.